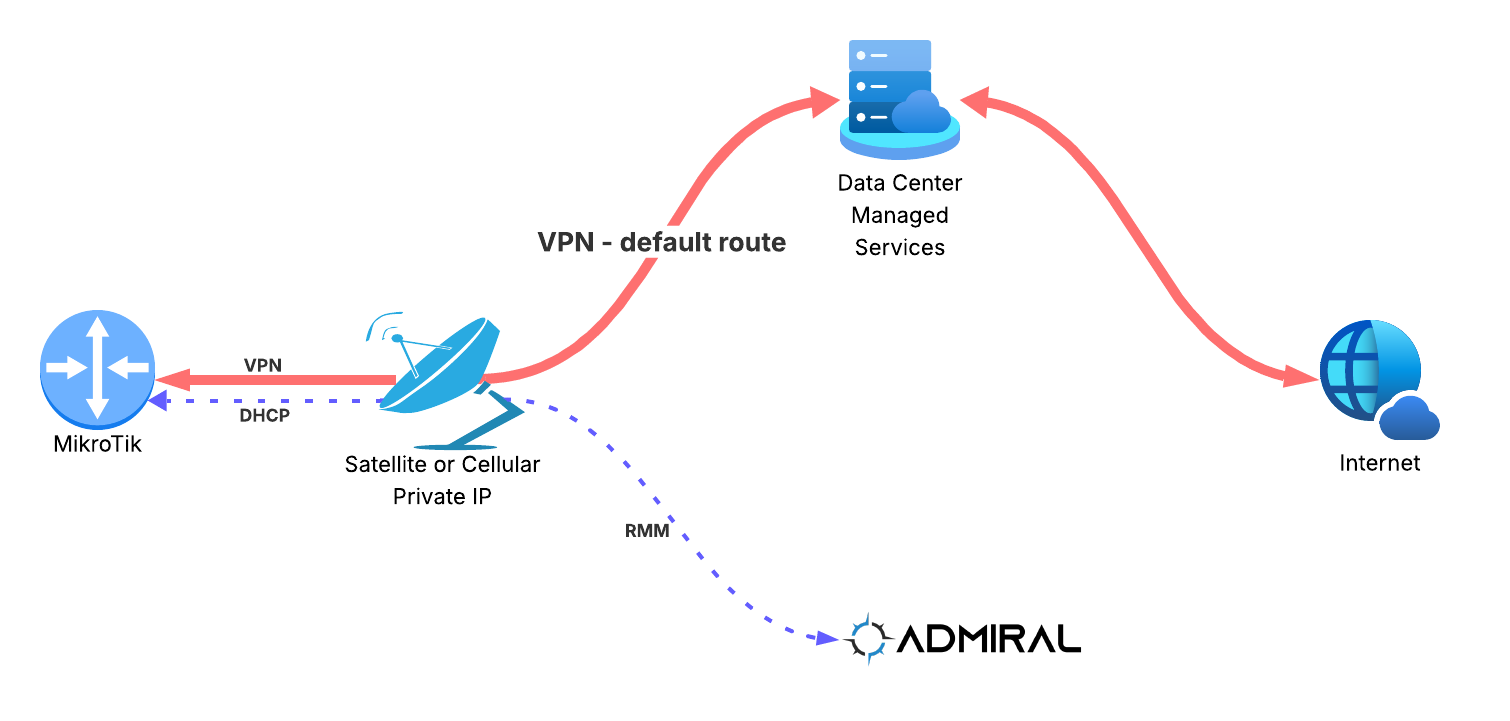
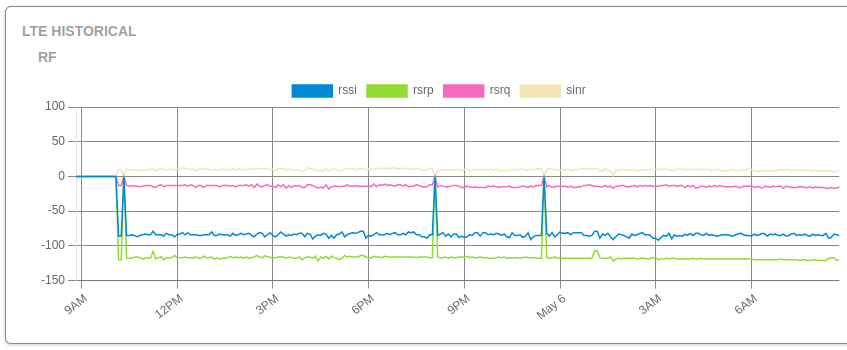
Recently we helped a new Admiral customer onboard a MikroTik that is configured to send…

Security best practices, part 1
With all of the scrutiny that we’re seeing on security right now, we thought it would be a good idea to share some security principles, tips, and tricks that are best practices. Over the next few weeks, we’ll be talking about firewalls, filtering, access lists, passwords, services, encryption, and port knocking.
In this blog post, we’ll talk about using a layered approach to security and show some examples of using firewall filtering and access lists.
And at RemoteWinbox, we practice what we preach. We use all of the techniques you’ll find outlined in this series to keep the bad guys out and keep your routers and data safe and operating securely with our service.
The Onion Strategy
First off, the best security strategies include lots of layers – a lot like an onion – meaning that there’s no single attack surface that alone, if compromised, would enable open access to all servers or services. You may have heard of the keys to the kingdom, and a strategy that has just one or a few lines of defense is much easier to compromise than one that has several protective techniques, or layers. It’s the job of good security to lock the keys to the kingdom behind several doors/walls/layers and make it difficult to get to.

If you haven’t heard about the Swiss cheese model of pandemic protection (found here: https://www.nytimes.com/2020/12/05/health/coronavirus-swiss-cheese-infection-mackay.html ), the same idea can be applied to networks, servers, and services. The idea is that you allow small attack surfaces – little holes in your security – that allow your users (and unfortunately, attackers or would-be bad guys) to get through to the next layer. But rather than one single slice that getting through one hole might allow full access – those keys to the kingdom we just mentioned – the villains are presented with another layer, and after that another layer, and another… so that they’ll have to get through many, many layers if they want to get to the goods.
In much the same way as the Swiss cheese model, you should design security for your network to protect your assets. Here’s an example of how RWB protects data access.

That might seem pretty complex, and actually, that’s the point. Each layer makes it tougher for bad actors to get anything of value, and more layers mean it’s more likely they’ll give up and move on to a target that’s easier to spin the proverbial slot machine and hit a jackpot.
So let’s dig in and take a look at these strategies and explain the thoughts behind the process.
Access Lists
Most services have a simple feature called an access list or access control list (ACL) that performs a very powerful first (or last, depending on which way you look at it) line of defense. With an ACL on MikroTik, you specify that ONLY packets that are sourced from very specific prefixes are allowed to communicate to the service.
In case that’s not very clear, let’s look at an example. Imagine that I’m running a web server at IP address 1.1.1.1, and a database server (1.1.2.1). On my webserver I want my website to be reachable from anywhere in the world. In that case, my ACL for my webserver will be completely insecure so that anyone will be able to access it from anywhere:
- WEB-SERVER -> Allow 0.0.0./0
- The prefix 0.0.0.0/0 is a special prefix, which means allow all from everywhere – meaning allow any IP to connect and communicate with the service (the web-server)
However, if my database is only needed to provide information to my web-server, I might harden it with a rule like this:
- DB-SERVER -> Allow 1.1.1.1/32,2.2.2.2/32
- In this case, the DB-server only accepts connections from the web-server and from 2.2.2.2 (let’s say that’s the IP address of my office so that I can do work on the DB). Everyone else in the world who tries to access my DB-server can go pound sand because they can’t connect – the service will never accept traffic from any source IP except those that are specified in the ACL.
MikroTik Example:
- /ip service set telnet address=192.168.88.0/24
Explanation:
- This will only allow connection attempts from the subnet 192.168.88.x to succeed and be prompted for username and password authentication. All attempts from other IP’s will be discarded.
Firewall
In Mikrotik terminology, this is called firewall filtering due to where it shows up in the menu, and oftentimes it’s thought of as the network’s first line of defense. This is the type of firewalling that most people think of when they think about Internet security. Packets come in from the Internet and when they reach your router, a facility called firewall filters decides what to do with that packet and how to treat it.
Firewall rules are processed in order, top to bottom – and when a packet is matched it executes the action specified in the rule. Once an action has been processed, a packet is considered finished – it won’t continue to match other rules. For example, if a packet matches rule #1, it won’t attempt to match rules 2 or higher, because it’s assumed to have already been processed.
Let’s keep using our web server (1.1.1.1) and database (1.1.2.1) example, and let’s say they’re running behind your MikroTik router. Again, our web-server runs on TCP ports 80 & 443 and database-server is on TCP/3306.
MikroTik Example:
- /ip firewall filter add chain=forward action=accept protocol=tcp dst-port=80,443 dst-address=1.1.1.1 comment=”Allow web-server traffic”
- /ip firewall filter add chain=forward action=accept protocol=tcp dst-port=3306 dst-address=1.1.2.1 src-address=1.1.1.1 comment=”Allow web-server to connect to DB”
- /ip firewall filter add chain=forward action=accept protocol=tcp dst-port=3306 dst-address=1.1.2.1 src-address=2.2.2.2 comment=”Allow office work to connect to DB”
- /ip firewall filter add chain=forward action=drop dst-address=1.1.1.1 comment=”Deny all to Web-server”
- /ip firewall filter add chain=forward action=drop dst-address=1.1.2.1 comment=”Deny all to the DB-server”
The logic for these rules is as follows:
- For packets that want to go to the web-server, allow it only if it’s going to TCP/80,443 (web ports)
- For packets that want to go to the db-server, allow it only if it’s going to TCP/3306 AND it’s coming from web-server
- For packets that didn’t match #2 and want to go to the db-server, allow it only if it’s going to TCP/3306 AND it’s coming from the-office
- If you didn’t match rule #1, you can’t talk to the web-server
- If you didn’t match rule #2 or #3, you can’t talk to the db-server
Now, don’t forget about the host-level firewall. What’s above will protect the host from packets that come from the Internet, but if we go back to the layered (or cheese, or onion) approach – it’s better security to further harden the network by implementing the same (or similar) firewall rules on the operating system of the server.
Why does that matter? Well, consider that maybe there’s another web-server, we’ll call it insecure-web that lives at the IP of 1.1.1.2 and he’s in the same subnet as our web-server. An attacker that compromised insecure-web may already be “inside” of our router and its firewall filtering, so without a host-level firewall that attacker could then have free access to our web-server. By implementing the layered approach and enforcing packet filtering at both the router and the host levels, we’ve made it much harder to get into anything that we don’t want to be exposed.
We’ll see you next week for part 2 of our security best practices blog!


