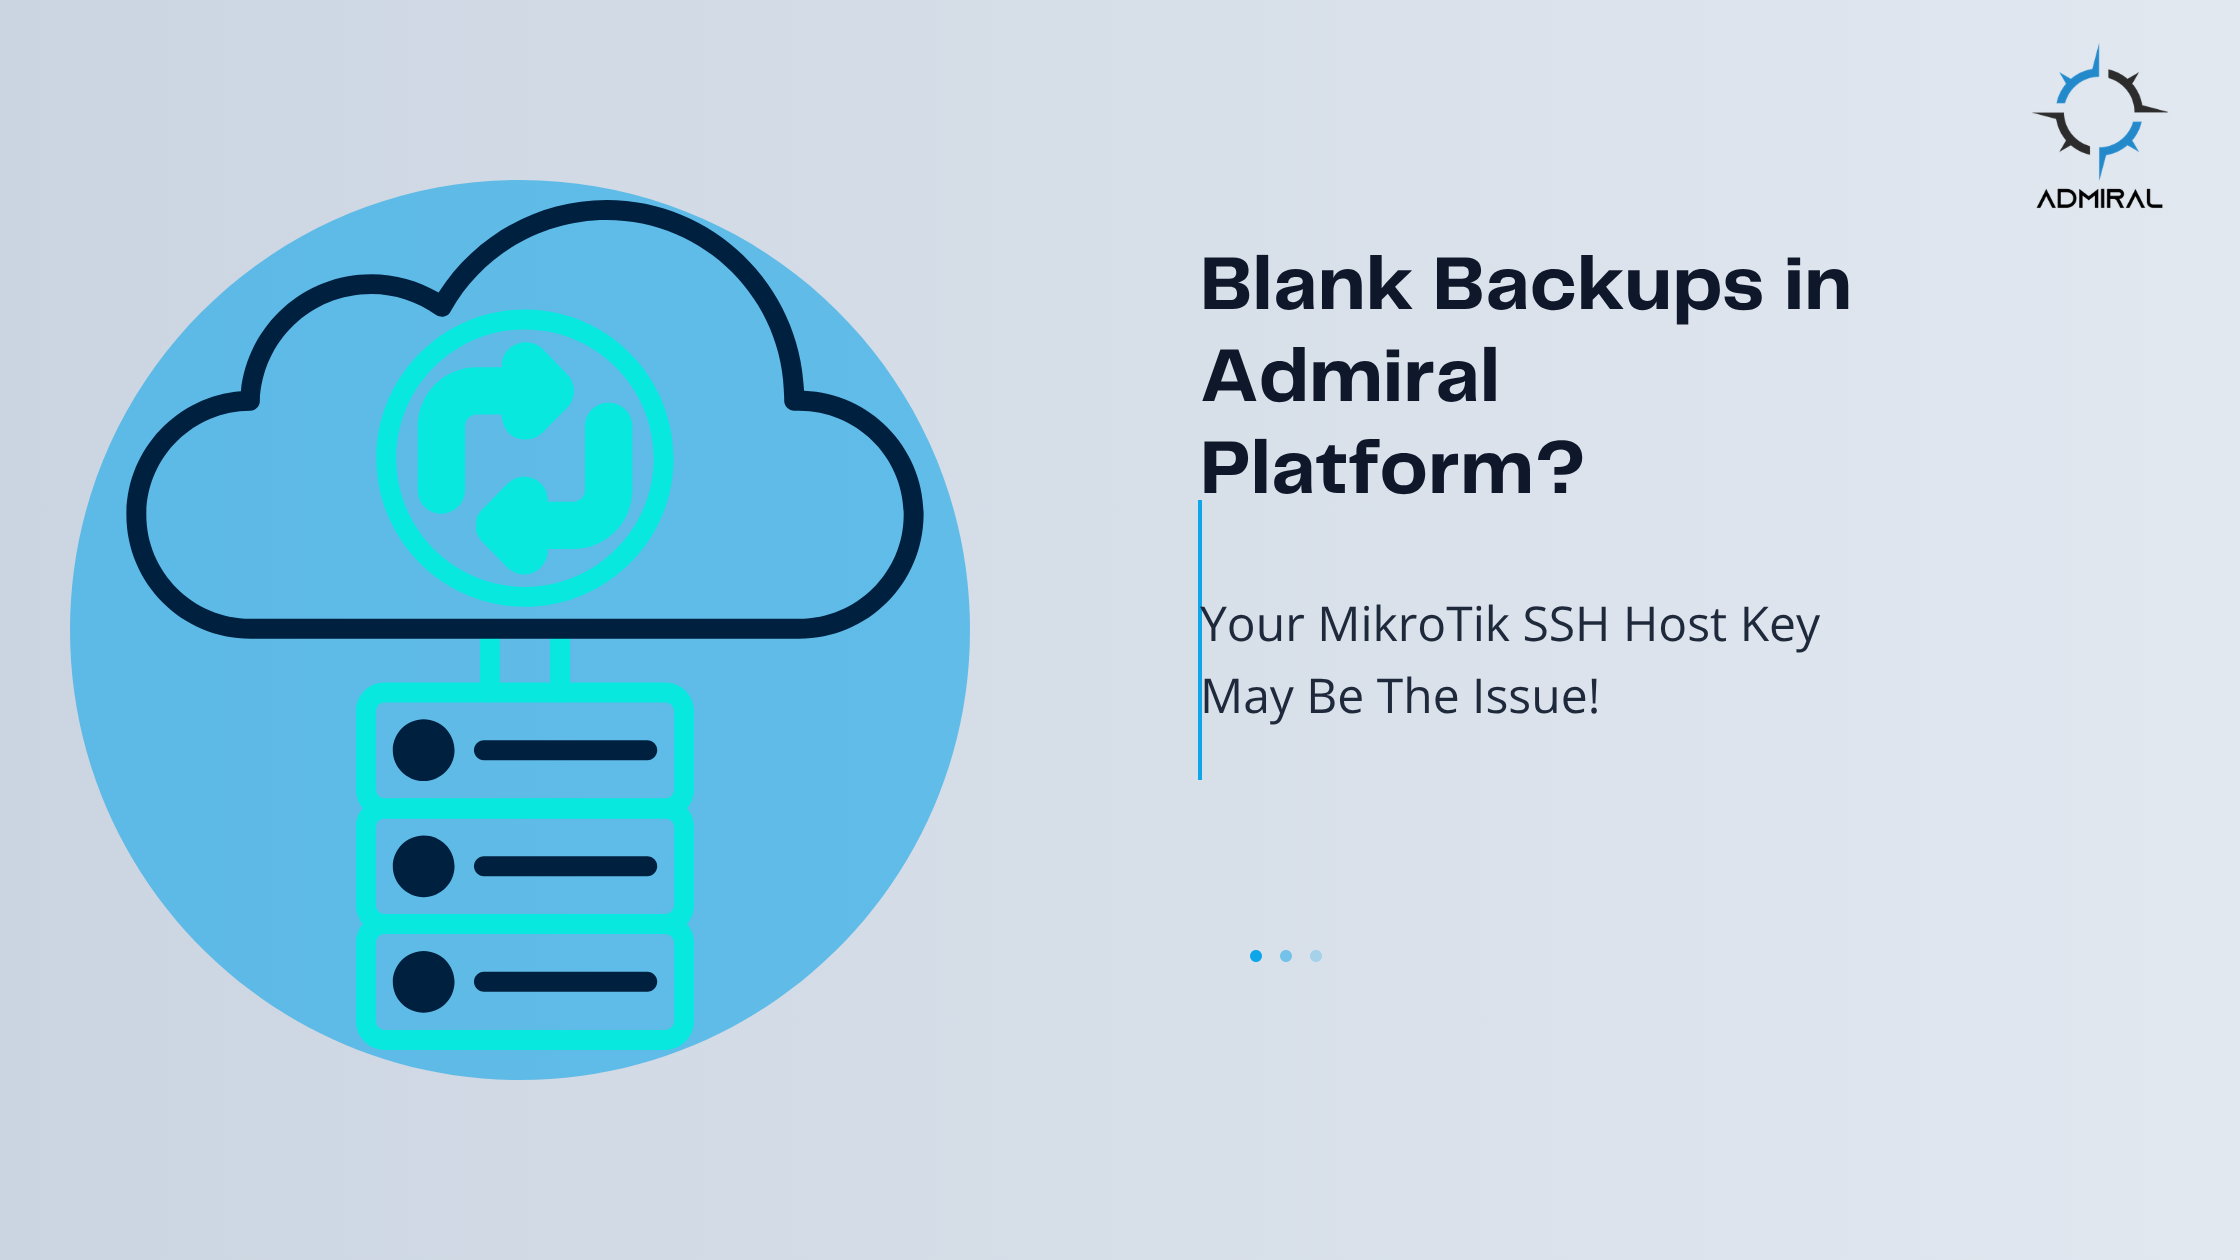


Blank Backups in Admiral Platform? Your MikroTik SSH Host Key May Be Corrupt If your…
100 MikroTiks for $100? Part 1
Hey guys – MikroTik Marc here and today I’m showing you how and why I built 100 MikroTiks in my lab for under $100 USD. It’s pretty crazy awesome, so read on to find out how you too can get 100 MikroTiks for around $100!
Why do you need 100 MikroTiks?
My lab can get pretty messy. The pics below are from AFTER my wife had me clean things up and contain the sprawling mess of my ever growing lab.
I need a bigger and bigger lab to test out various features of the MikroTik centralization software called Admiral Platform.
Before I started this project, one part of my lab had 7 MikroTik HAP AC Lites, 7 power connectors, a large surge suppressor and 13 patch cables. Can you imagine how much physical space (and clutter) this lab environment will create as it continues to grow? Even with POE switches, I’d run out of power outlets even if I used every room in my house!
What is the goal with this 100 MikroTik project?
My use case is the need to be able to model a pretty complex real world environment with my lab. As Admiral Platform was developing the OSPF Mapper and Hierarchy view of the topology features, the tiny little HAP AC Lite lab just wasn’t going to be enough to represent our customers – some of whom have many thousands of MikroTiks in their deployments.
Admiral was automatically generating the 7 node lab network diagram seen below, but was struggling for larger and more complex configurations. We needed more Tiks!
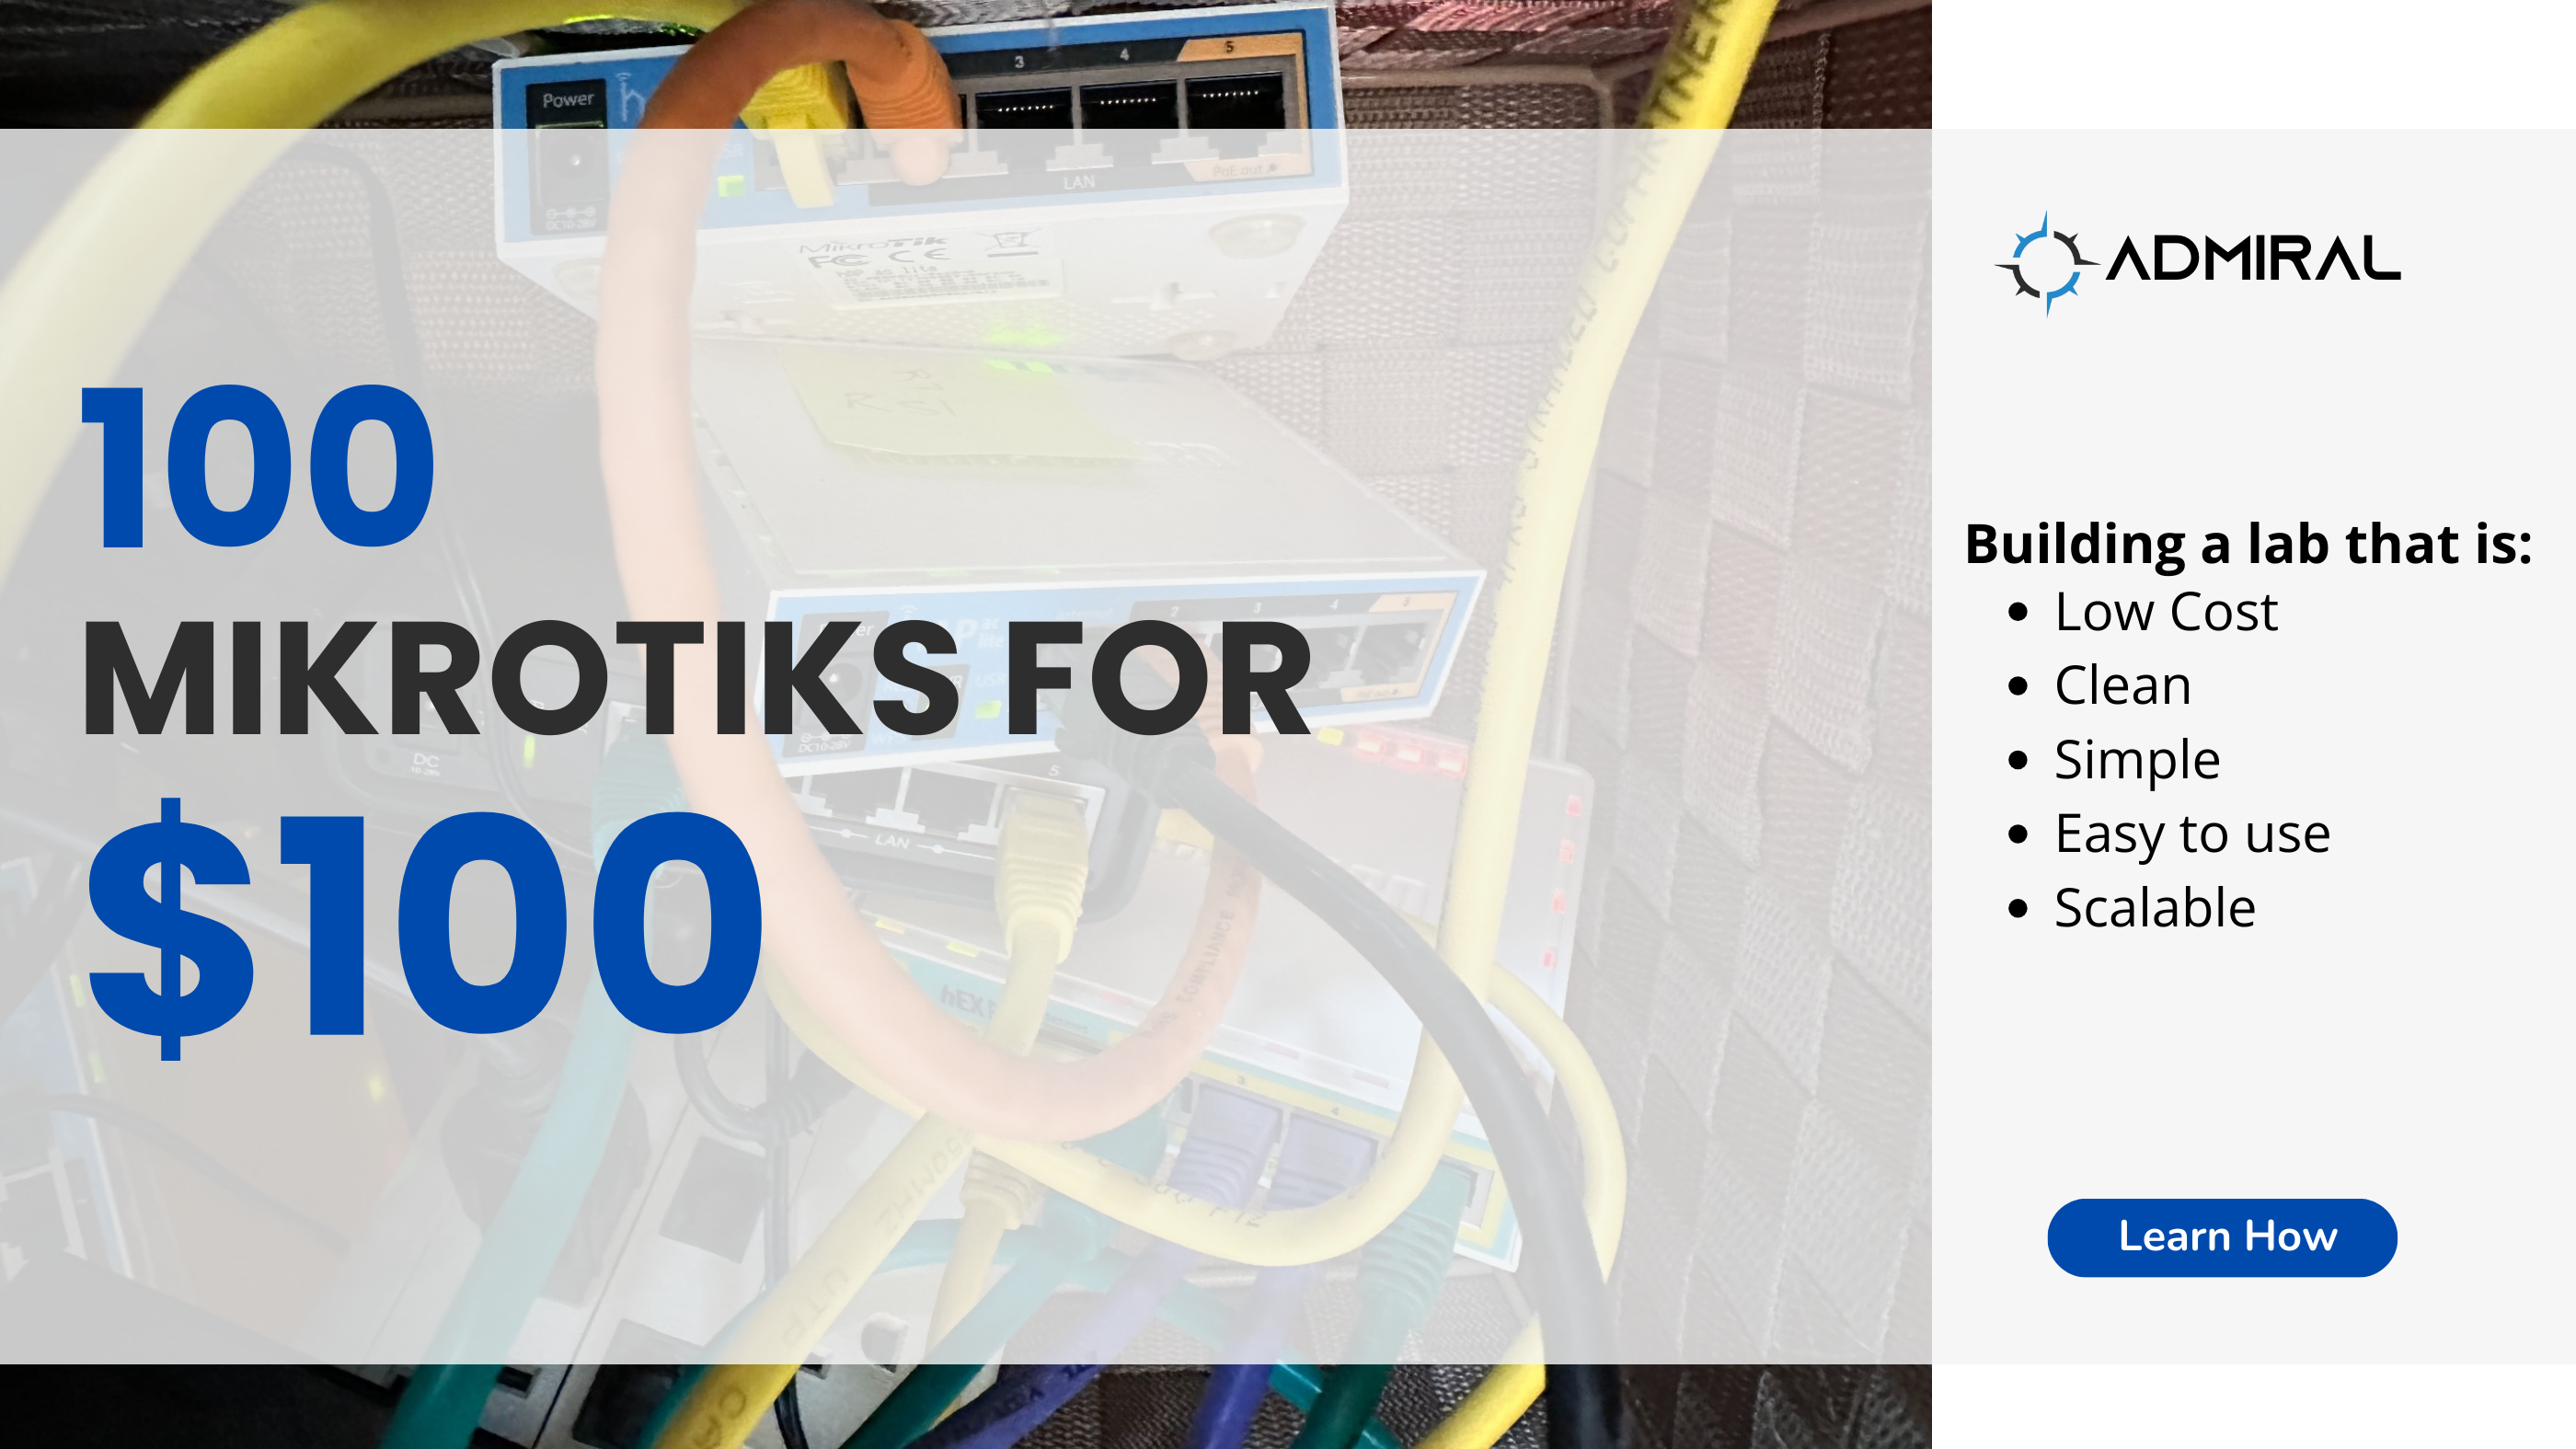
This project had the following requirements:
- Low Cost
- Clean
- Simple
- Easy to use
- Scalable
How can 100 MikroTiks be $100???
Replacing my 7 node HAP AC Lites, this part of my lab is now 100 MikroTiks, takes up less space, less power draw, less patch cables, and cost me less than $100. Read on to find out how!
What do you need?
Hardware shopping list:
- Used PC – $40
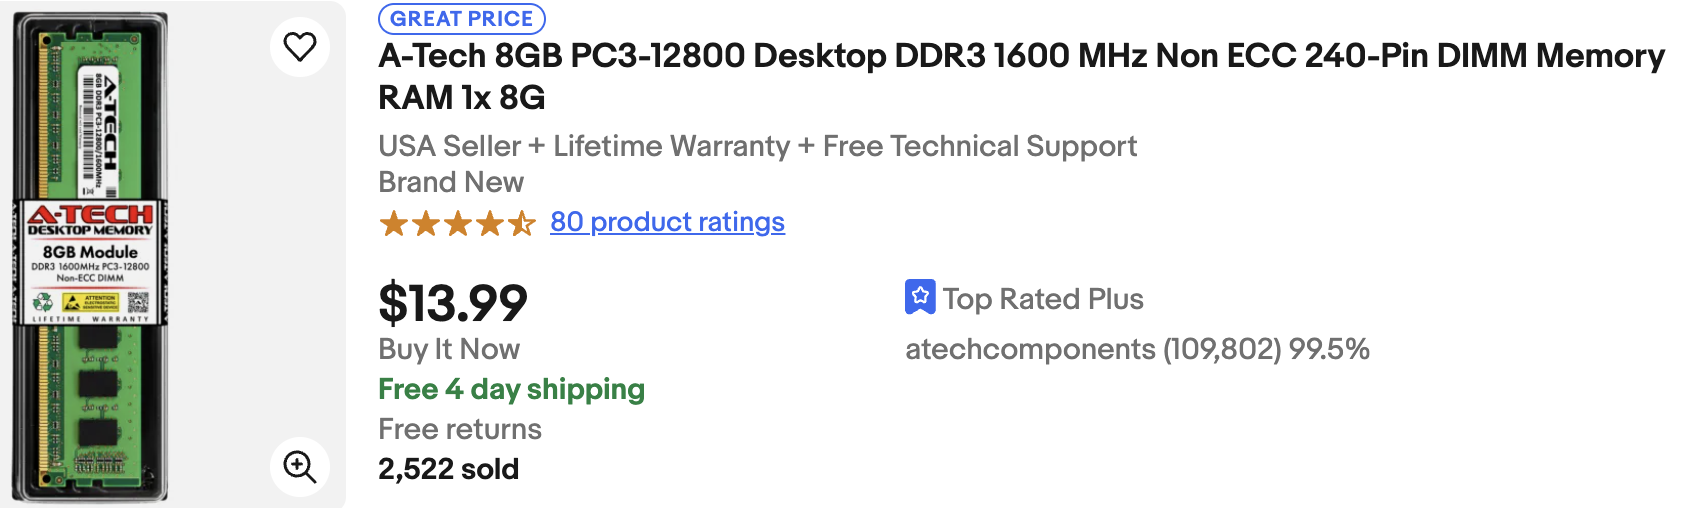
- New RAM – $26
- New SSD – $18
- 1 power cable and outlet
- 1 network patch cable
- TOTAL – $84 USD
Software shopping list:
- Proxmox – free
- MikroTik CHR – free
- TOTAL – $0
What I decided to do was pair the incredibly powerful MikroTik CHR virtual machine with the equally impressive Proxmox Virtual Environment hypervisor to create the Operating System and software layer of this solution. Using commodity hardware that’s very modest and yet also robust and inexpensive enabled this project to deliver with a very frugal budget.
What about network emulators?
Immediately I thought about using GNS3 (https://www.gns3.com/ ) or Eve-NG (https://www.eve-ng.net/) which are two of the best network emulation software suites I’ve used in the past. Notice I mentioned that I’ve used them, but I didn’t mention that I’ve set them up. Checking out their documentation, I saw issues with nested virtualization, potentially complex installation and I started thinking about installing on bare metal and I came to realize that what should be a simple and quick project, was quickly turning into a big ole time suck.
Not only would I be spending a few hours network engineering the lab to model a medium sized topology, but it was looking like I’d be spending an equal amount of time systems engineering and tweaking and tuning the network emulation setup too. That’s sounded very complex and time consuming and I’d like to avoid all the emulation setup drama.
So next I wondered – could I simply use Proxmox all on its own? At Admiral, we love Proxmox for its stability, power, price and performance. We used to use esxi and found that for our workloads, Proxmox runs amazingly and it’s measurably faster with less resources used on the same hardware.
Not only that, but I could really simplify the software stack by cutting out several layers!
- With emulation (GNS3 or EVE-NG):
- CHR — EMULATOR — UBUNTU — HYPERVISOR — HARDWARE
- vs
- CHR — EMULATOR — UBUNTU — HYPERVISOR — HARDWARE
- PROXMOX + CHR:
- CHR — HYPERVISOR — HARDWARE
Putting it all together
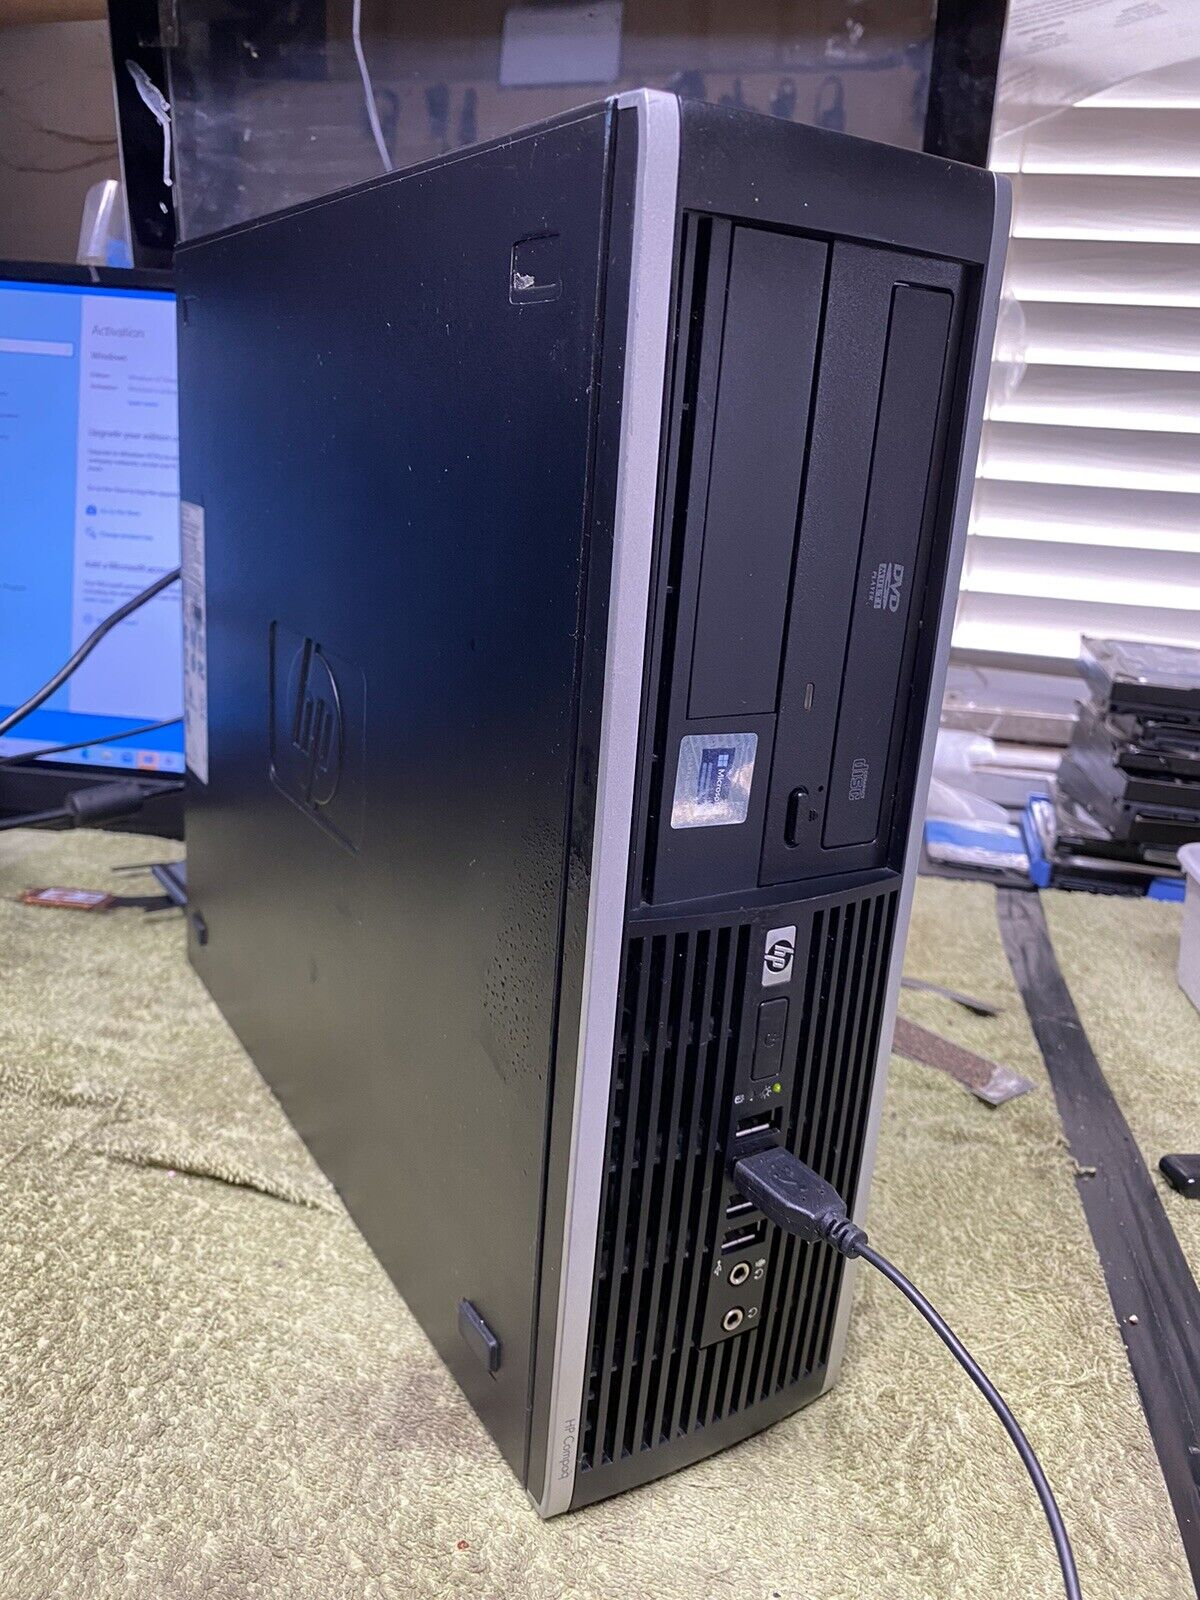
I picked up an old HP Elite desktop powered with an i7-2700K at a garage sale that I had laying around from years ago and I ordered some new less than $30 2x8GB sticks of RAM to get a total of 32GB (the PC had 2x8G in it to start, so I added another 2x8G). Then, I also added a small, less than $20 SSD. That put me under $100 USD for this lab equipment, and it flies.
Check back soon for Part 2!
Coming Soon:
Presentation of 100 Tiks for $100
Zip File of 100 Tik Configurations
Lucid Chart Diagrams for Network Engineering
Related Posts