https://youtu.be/dAq4-usywxU In part two of Episode 4, Tyler Casey of DMTech walks Marc through a…
Restoring a text backup on a MikroTik
Occasionally the need to restore a MikroTik configuration occurs and we’re here to help. Today’s blog post will show how you can restore from a RemoteWinBox backup, which is also the same process as restoring from a MikroTik command line /export.
The first thing to know is that there are 2 types of backups that most users utilize – binary backups and text exports.
We won’t be talking about the backup/restore functions because they limit restoring a configuration only to the exact same router model, but you can learn more about binary backups here: https://wiki.mikrotik.com/wiki/Manual:System/Backup
RemoteWInBox takes automatic backups every day by running a /export over SSH and stores the output on our servers. If you have an export, you are ready to restore a router’s configuration to the same unit, a different Tik of the same model, or another MikroTik of a completely different model pretty easily.
Restoring to the same MikroTik
This is the easiest scenario!
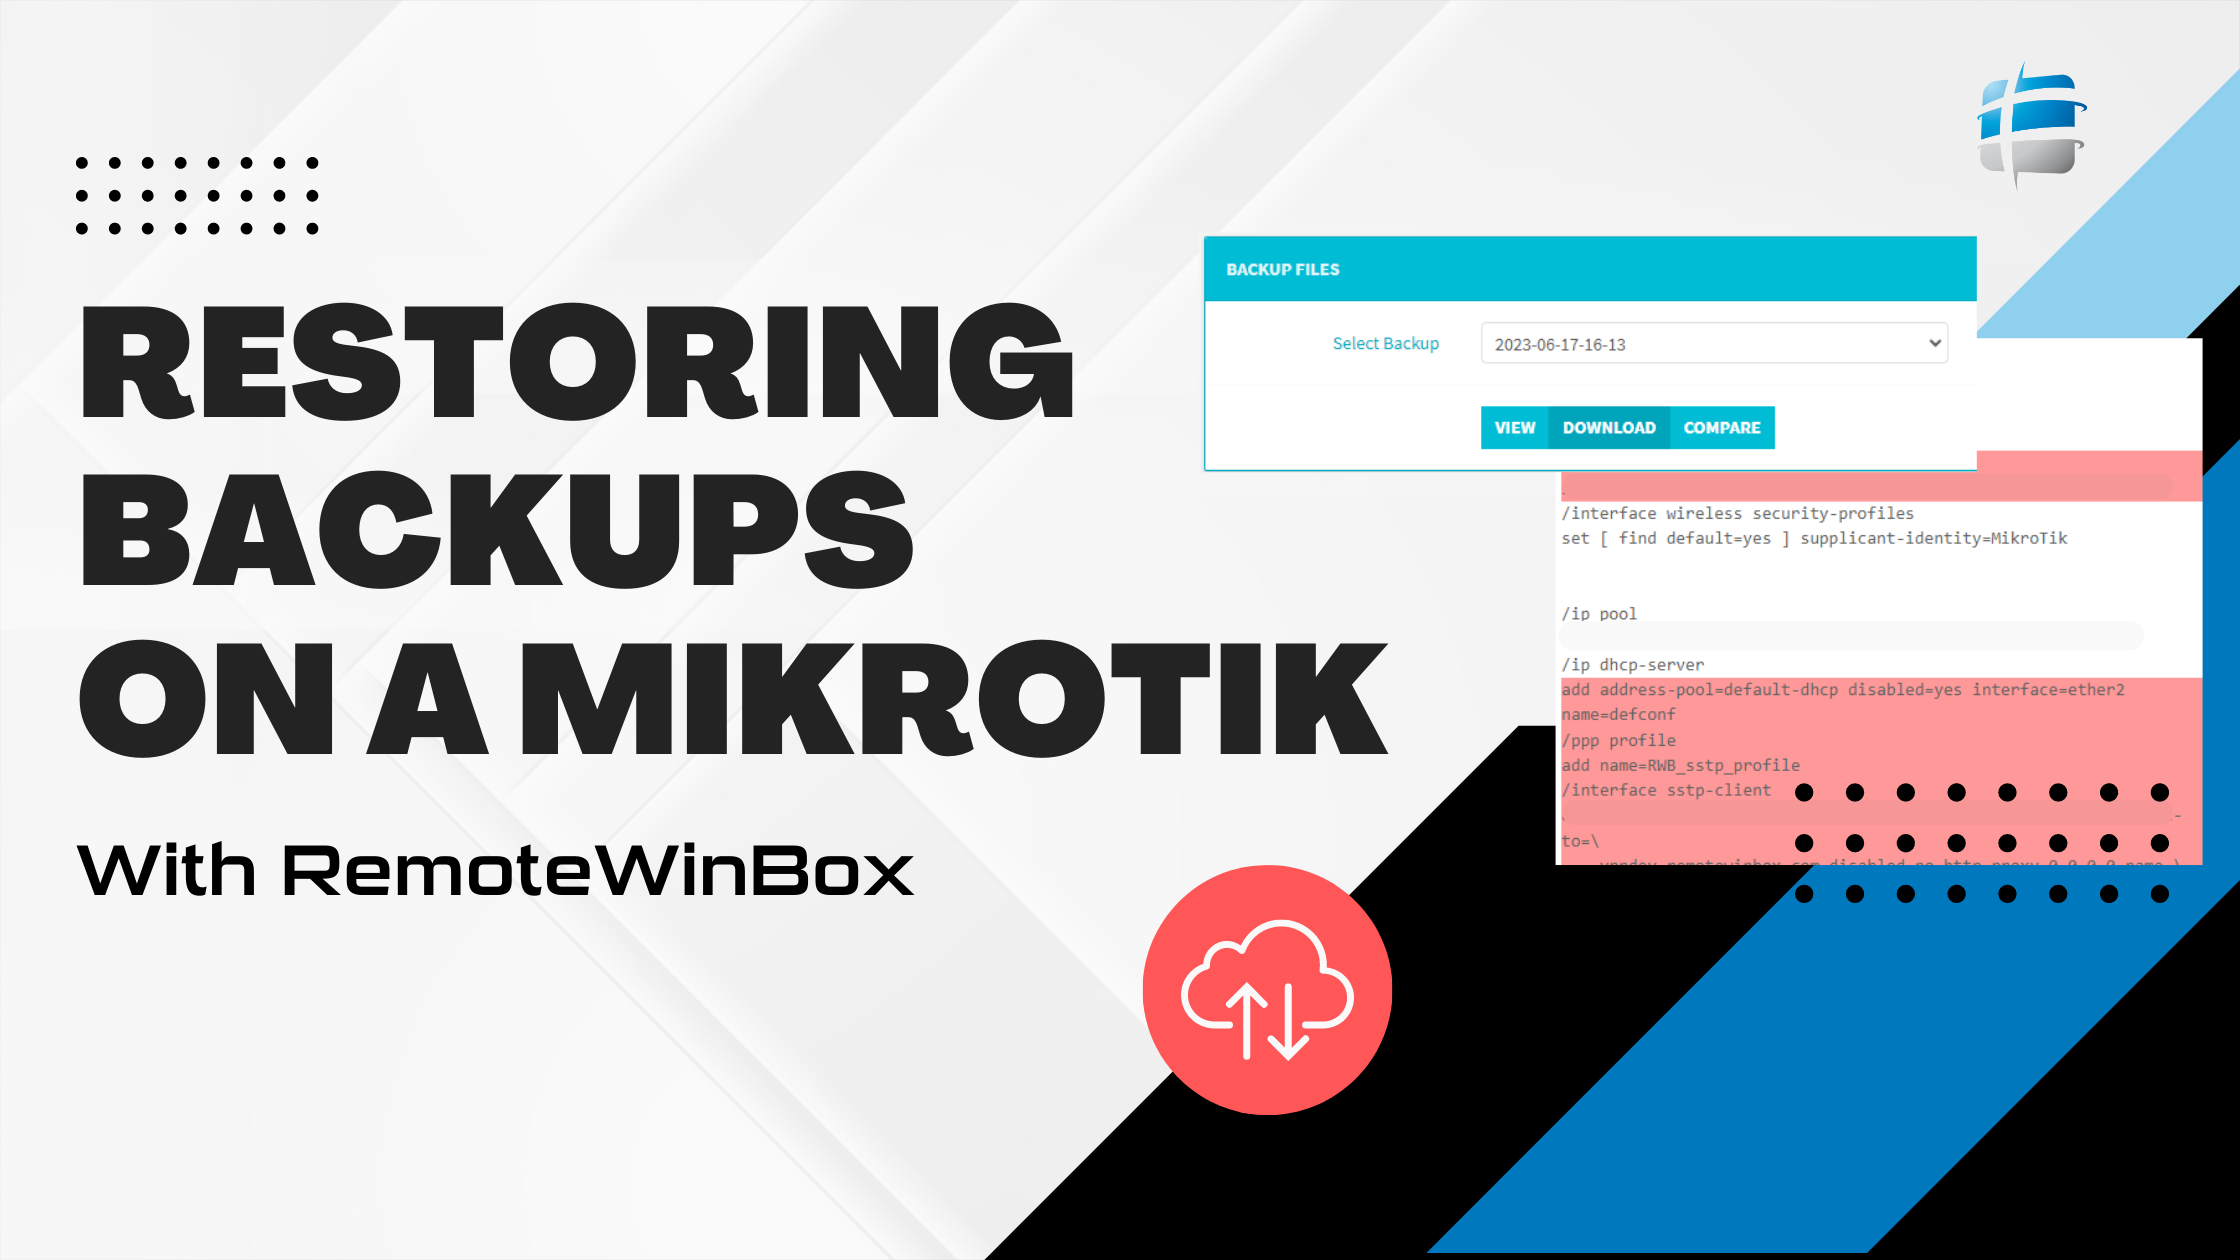
- Download your backup of choice from your RemoteWinBox account by navigating to ROUTER LIST, selecting the BACKUPS tab, finding the MikroTik you’d like to restore and click the yellow storage icon below ACTIONS.
- Then select the date of the backup you’d like to download and click the DOWNLOAD button and your browser will prompt you to save the backup to your local computer (or it will auto-save it to your downloads folder, depending on your browser settings)
- Upload your backup to your Mikrotik. Open WinBox and connect to your MikroTik and drag and drop your downloaded .RSC file from step 1 to your WinBox window.
- note: you could also use ssh/scp/ftp/telnet if you prefer commandline, but we won’t go into that here
- Reset and restore the configuration of your MikroTik – we suggest keeping users by ticking the KEEP USERS checkbox and ensure you also tick the checkbox for NO DEFAULT CONFIGURATION, and then also click the drop down for RUN AFTER RESET to select the backup file you just uploaded
- For those who prefer commandline: /system reset-configuration keep-users=yes no-defaults=yes run-after-reset=my-backup.from.remotewinbox.download.rsc
- note: replace the file-name with the file you downloaded (it should look something like year-month-day.rsc ex: 2023-06-13-14-20.rsc)
- The router will reboot and apply your previous configuration!
- NOTE: User accounts (for logging in with Winbox) are NOT stored and need to re-added manually!
Restoring to a different MikroTik that’s the same model
Still pretty easy, but you’ll want to sanitize the configuration to prevent
- Download your backup of choice from your RemoteWinBox account by navigating to ROUTER LIST, selecting the BACKUPS tab, finding the MikroTik you’d like to restore and click the yellow storage icon below ACTIONS.
- Then select the date of the backup you’d like to download and click the DOWNLOAD button and your browser will prompt you to save the backup to your local computer (or it will auto-save it to your downloads folder, depending on your browser settings)
- Open the backup file using your favorite editor, like Notepad, TextEdit, vi/nano, etc. to do some cleanup and sanitize the configuration. Look for any references that specify a MAC-ADDRESS and delete that section of the command. You may also want to look for anything specific to the hardware you’re replacing, but usually MAC is the only thing you should clear out. (Not because it won’t work, but because troubleshooting later will be easier when using burned-in mac-addresses instead of overriding)
- For example, if I found this in my configuration:
- /interface bridge
add admin-mac=CC:2D:E0:63:1C:60 auto-mac=no comment=defconf name=bridge
- /interface bridge
- I’d change that to:
- /interface bridge
add comment=defconf name=bridge
- /interface bridge
- Don’t forget VPLS mac if you’ve configured MPLS/VPLS
- Once done reviewing your configuration, save it and it’s ready for upload or copy+paste
- For example, if I found this in my configuration:
- Upload your backup to your Mikrotik. Open WinBox and connect to your MikroTik and drag and drop your downloaded .RSC file from step 1 to your WinBox window.
- note: you could also use ssh/scp/ftp/telnet if you prefer commandline, but we won’t go into that here
- Reset and restore the configuration of your MikroTik – we suggest keeping users by ticking the KEEP USERS checkbox and ensure you also tick the checkbox for NO DEFAULT CONFIGURATION, and then also click the drop down for RUN AFTER RESET to select the backup file you just uploaded
- For those who prefer commandline: /system reset-configuration keep-users=yes no-defaults=yes run-after-reset=my-backup.from.remotewinbox.download.rsc
- note: replace the file-name with the file you downloaded (it should look something like year-month-day.rsc ex: 2023-06-13-14-20.rsc, unless you renamed it when you saved in step 2)
- The router will reboot and apply your previous configuration!
- NOTE: User accounts (for logging in with Winbox) are NOT stored and need to re-added manually!
Restoring to a different MikroTik that’s a different model
This one is a little more work and you’ll need to pay attention to detail during sanitation because a single mistake will prevent configuration acceptance.
- Download your backup of choice from your RemoteWinBox account by navigating to ROUTER LIST, selecting the BACKUPS tab, finding the MikroTik you’d like to restore and click the yellow storage icon below ACTIONS.
- Then select the date of the backup you’d like to download and click the DOWNLOAD button and your browser will prompt you to save the backup to your local computer (or it will auto-save it to your downloads folder, depending on your browser settings)
- Open the backup file using your favorite editor, like Notepad, TextEdit, vi/nano, etc. to do some cleanup and sanitize the configuration. Look for any references that specify a MAC-ADDRESS or interface and delete that section of the command. You will also want to look for anything specific to the hardware you’re replacing because if you replace a MikroTik that had 11 ethernet ports and POE out on 11 with another model that has 5 ethernet ports, POE out on 5 and upgrading to SFP, you’ll have some work to do to get it right.
- For example, if I found this in my configuration:
- Original
- /interface bridge
add admin-mac=CC:2D:E0:63:1C:60 auto-mac=no comment=defconf name=bridge
- /interface bridge
- I’d change that to:
- /interface bridge
add comment=defconf name=bridge
- /interface bridge
- Original
- Don’t forget VPLS mac if you’ve configured MPLS/VPLS
- Another example – POE moving from port 11 to port 5
- Original
- /interface ethernet
- set [ find default-name=ether11 ] poe-out=forced-on
- becomes:
- /interface ethernet
- set [ find default-name=ether5 ] poe-out=forced-on
- Original
- And if I have 11 ports on the bridge named “SWITCH” dropping down to 5 ports on my MikroTik
- Original
- /interface bridge port
add bridge=SWITCH interface=ether11
add bridge=SWITCH interface=ether10
add bridge=SWITCH interface=ether9
add bridge=SWITCH interface=ether8
add bridge=SWITCH interface=ether7
add bridge=SWITCH interface=ether6
add bridge=SWITCH interface=ether5
add bridge=SWITCH interface=ether4
add bridge=SWITCH interface=ether3
add bridge=SWITCH interface=ether2
add bridge=SWITCH interface=ether1
- /interface bridge port
- Change to:
- /interface bridge port
add bridge=SWITCH interface=ether5
add bridge=SWITCH interface=ether4
add bridge=SWITCH interface=ether3
add bridge=SWITCH interface=ether2
add bridge=SWITCH interface=ether1
- /interface bridge port
- Original
- Say I need to swap from ether1 WAN to SFP+ WAN
- make sure to change instances of IP addresses, OSPF and/or BGP configuration, firewall rules, interface lists + members, NAT rules, etc.
- go through the configuration file and change everywhere it says “ether1” to “sfp-sfpplus1”
- make sure to change instances of IP addresses, OSPF and/or BGP configuration, firewall rules, interface lists + members, NAT rules, etc.
- Once done reviewing your configuration, save it and it’s ready for upload or copy+paste
- For example, if I found this in my configuration:
- Upload your backup to your Mikrotik. Open WinBox and connect to your MikroTik and drag and drop your downloaded .RSC file from step 1 to your WinBox window.
- note: you could also use ssh/scp/ftp/telnet if you prefer commandline, but we won’t go into that here
- Reset and restore the configuration of your MikroTik – we suggest keeping users by ticking the KEEP USERS checkbox and ensure you also tick the checkbox for NO DEFAULT CONFIGURATION, and then also click the drop down for RUN AFTER RESET to select the backup file you just uploaded
- For those who prefer commandline: /system reset-configuration keep-users=yes no-defaults=yes run-after-reset=my-backup.from.remotewinbox.download.rsc
- note: replace the file-name with the file you downloaded (it should look something like year-month-day.rsc ex: 2023-06-13-14-20.rsc, unless you renamed it when you saved in step 2)
- The router will reboot and apply your previous configuration!
- NOTE: User accounts (for logging in with Winbox) are NOT stored and need to re-added manually!
- NOTE: WARNING! If there’s an incompatible command – for example you forgot to scrub out an ether6 somewhere and this router only has 5 ports, the configuration will fail to apply and the router will have no configuration. When this happens to me, I personally like to go line by line using copy + paste instead of using the RSC method so that I can see at the CLI if there’s any errors in the configurations.
Hopefully by now you’ve successfully recovered from the need to replace your MikroTik, whether it happened due to lightning damage, hardware upgrade, or other scenario we hope this post has helped you get service back online!
Related Posts