One of our recent on-premise Admiral customers told us something we hear a lot: Admiral…

Tips4Tiks: Using ZeroTier with MikroTik Routers
1.
Tips4Tiks: Using ZeroTier with MikroTik Routers
Step by Step guide to setting up ZeroTier on MikroTik
Part 1: Using ZeroTier as remote access
In this blog post, we will go through the setup of a ZeroTier client on a MikroTik router. Right off the bat, it is worth mentioning that the ZeroTier package is only supported on arm/arm64 architecture, so most older MikroTik devices will not support ZeroTier. If this is a must for you, and you’re still running a hAP ac lite, it may be time for an upgrade!
On a positive note, you could always stick a Raspberry Pi-like device behind your MikroTik, and utilize SSH tunneling to reach your older MikroTik – however, this is not what this article is about! So let’s jump into getting our MikroTik on ZeroTier.
Setting up a ZeroTier account
I will not go through the steps of registering, as that is as simple as going to zerotier.com and clicking Sign Up. After registering, activating your account, and logging in for the first time, you’ll have a single button displayed to create your network:
After clicking the button, a network will be created with some default values:
Clicking on the network, you’ll be presented a whole network settings page where you can adjust the name, description, access, subnets, etc. of your network.
I adjusted the name of my network, since I didn’t care for `sad_murray`, but I left my Access Control set to Private since I don’t want my network to be wide open for anyone to connect.
In advanced options, you can set which subnet you’d like to use. I highly suggest checking your IPAM and making sure you’re not causing any conflicts with the default subnet.
In my case, 172.25.0.0/16 works, and is not creating any conflicts, so I’ll keep it the way it is.
Installing ZeroTier on your MikroTik
Go to https://mikrotik.com/downloads and download the Extra Packages for the architecture that applies. In my case, that is ARM:
Unzip the downloaded file, look for the zerotier npk file, drag and drop it into your MikroTik’s File List:
Upon successful upload, reboot your router by doing `/system reboot`.
After reboot you should see a new item named ZeroTier in your left-hand side menu in WinBox:
Setting up ZeroTier interface on your MikroTik
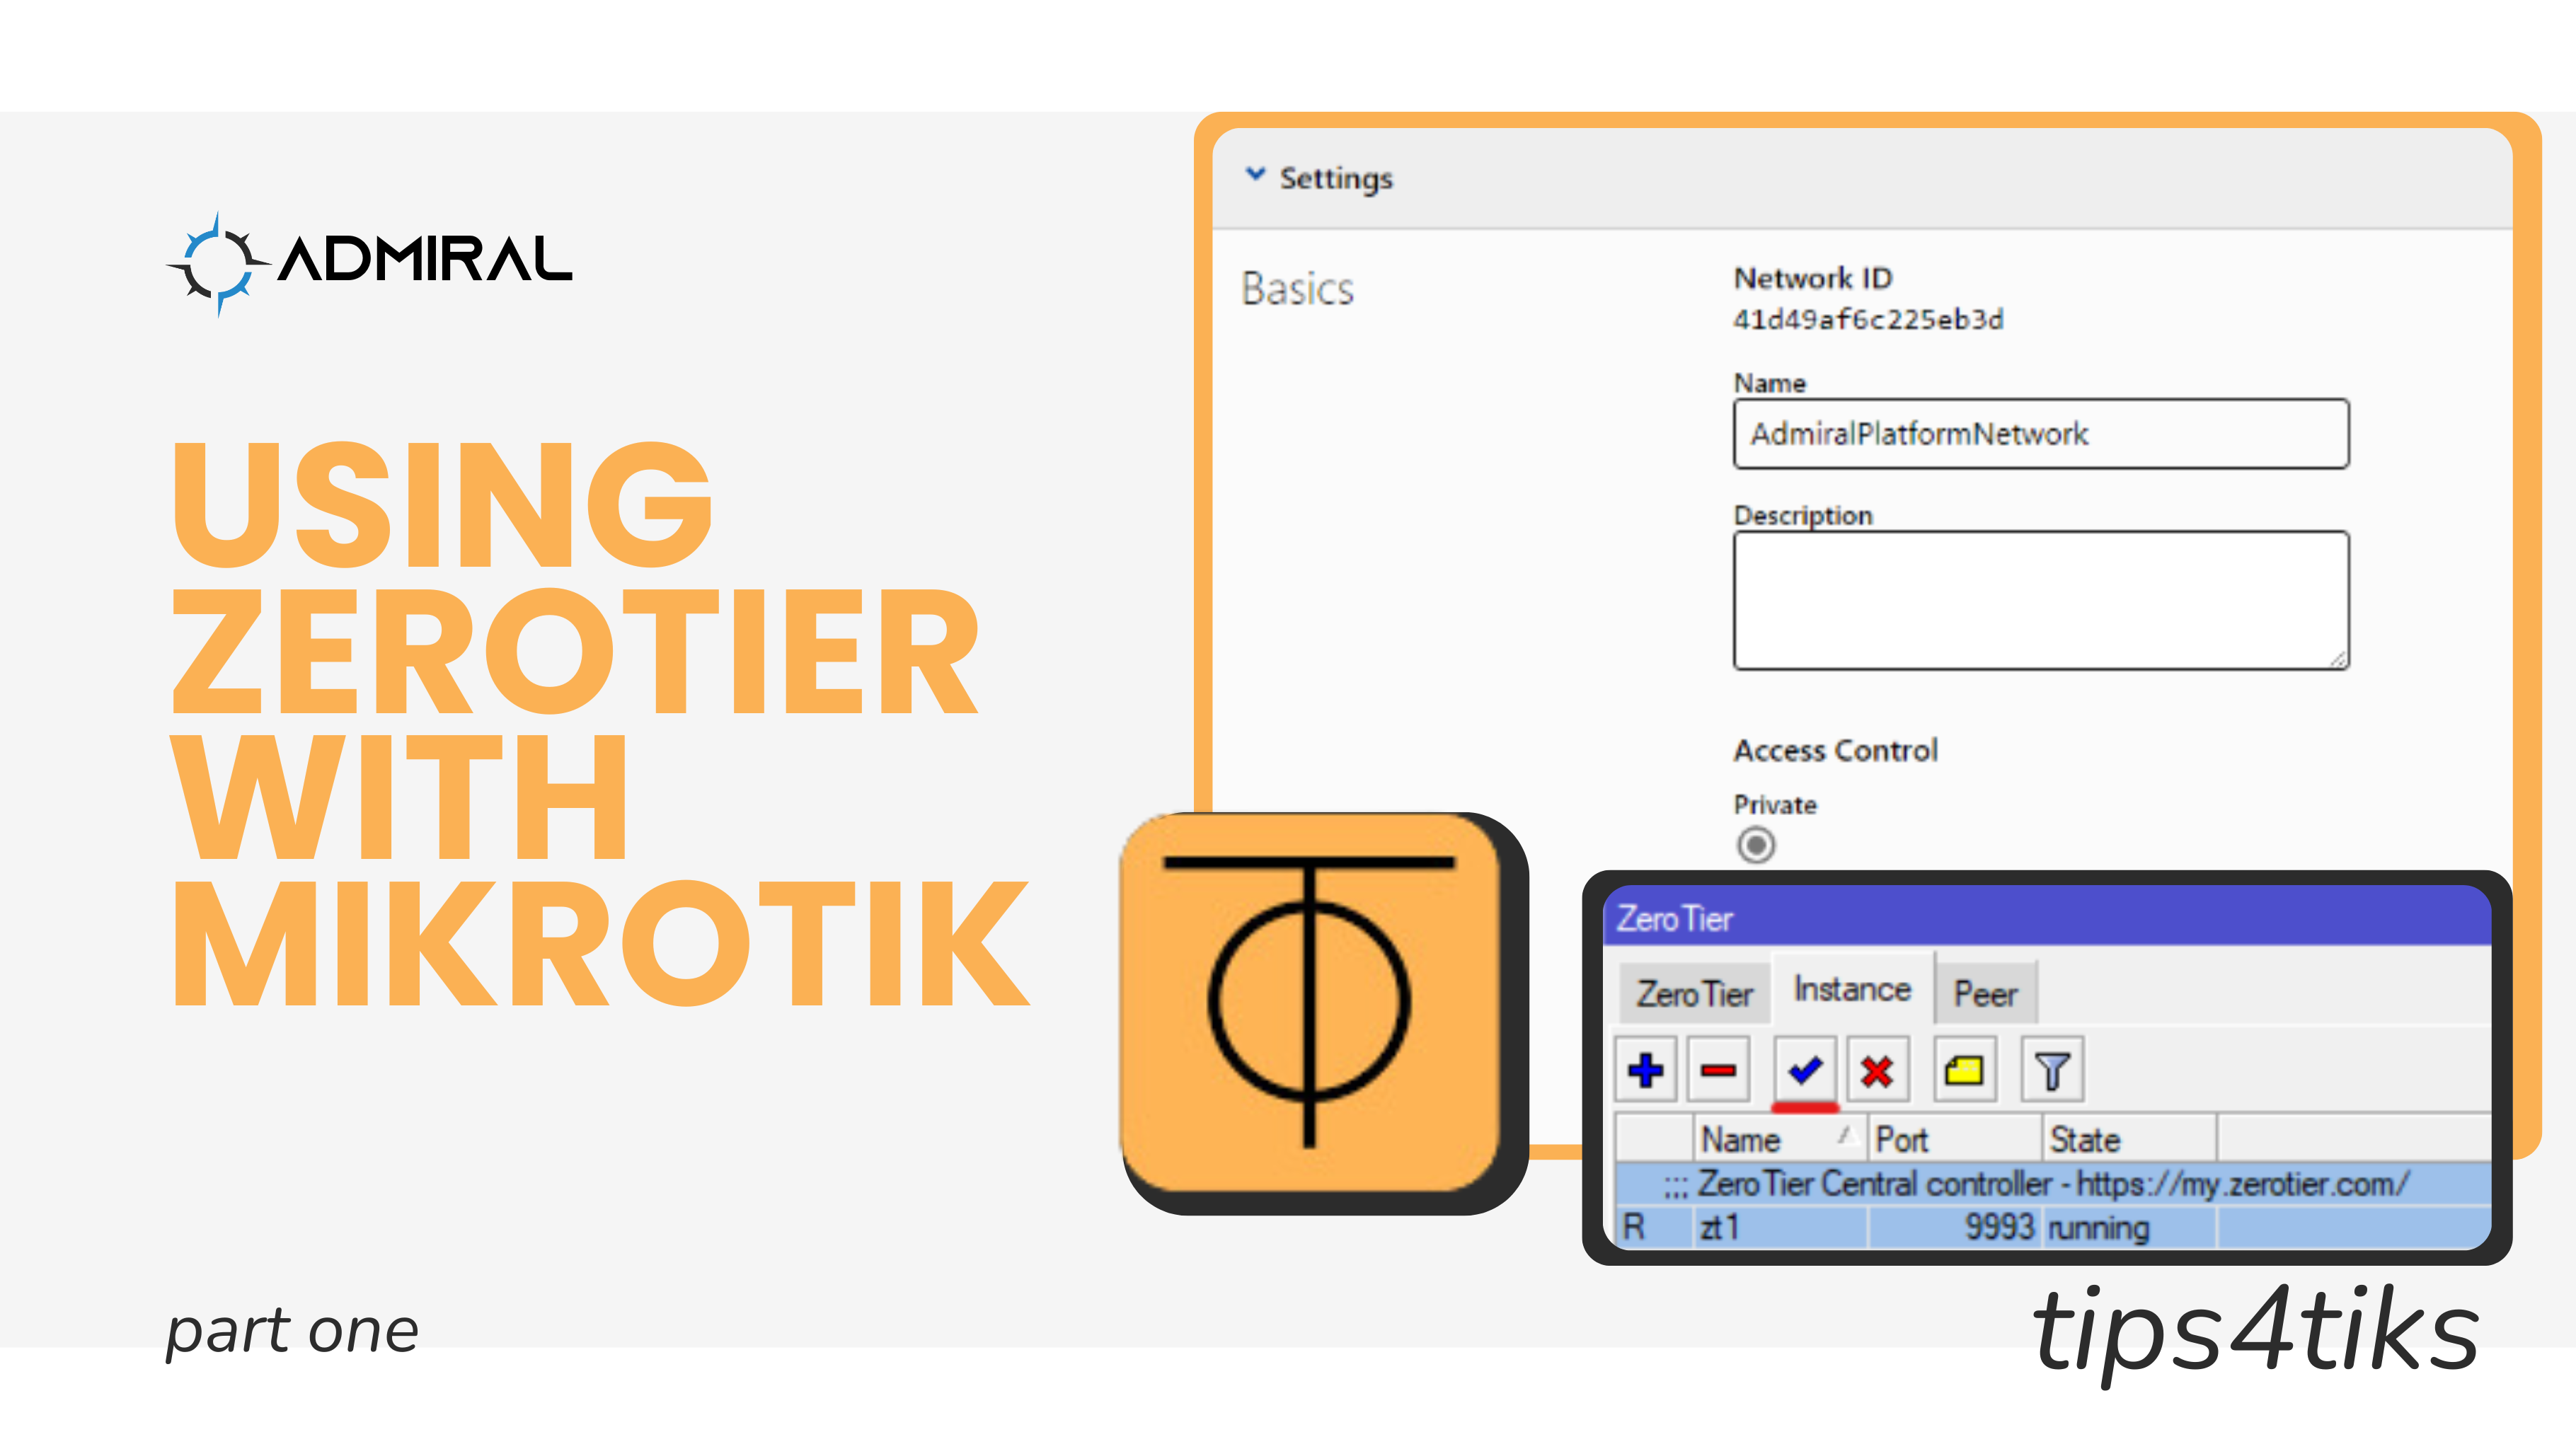
Now to join our AdmiralPlatformNetwork with this router, all we have to do is add a new interface with the network ID from our ZeroTier dashboard. You can find your ZeroTier network ID in your ZeroTier dashboard’s network list, or by clicking into the network and looking at the Settings panel:
Copy the network ID, then head back to your WinBox window. Open the ZeroTier menu item and first enable your ZeroTier instance by clicking on Instance, selecting the default instance and clicking the enable button:
Then add a new ZeroTier interface with the network ID you copied from ZeroTier dashboard:
You can achieve the same by running the following commands in your terminal:
/zerotier enable 0;
/zerotier interface add instance=zt1 name=zerotier_admiral network=41d49af6c225eb3d;
At this point we need to approve the device in the ZeroTier dashboard, and let the router connect to the network. You can find the list of connected devices close to the bottom of the page:
Observe that the device got an IP assigned to it. Feel free to change this IP to something more memorable if you’d like.
In the meantime, in your WinBox session, you’ll notice that your newly added ZeroTier entry is now running
Depending on how your firewall looks, you may need to add some rules. In my case, I added a filter rule to accept traffic on the input chain for subnet 172.25.0.0/16 since that is my ZeroTier default subnet:
/ip firewall filter add chain=input action=accept src-address=172.25.0.0/16 place-before=1 comment=allow_zerotier_access;
That should be the final step of adding your MikroTik to a ZeroTier account!
Testing the ZeroTier connection
I will skip going over installing and setting up a ZeroTier client for Windows, but it is pretty straightforward, and steps are pretty similar to the ones on MikroTik, but of course, with a different user interface.
I added the network ID of my AdmiralPlatformNetwork to my ZeroTier client, and approved it in my ZeroTier dashboard.
As you can see from the screenshot below, now I have two devices listed in my ZeroTier dashboard:
Now I should be able to access my MikroTik via ZeroTier from my Windows machine using the management network provided by ZeroTier.
In my case, I’ll WinBox in to 172.25.106.8:
Of course, allowing traffic from your ZeroTier subnet on all ports will let you utilize WinBox, SSH, API, etc. It is always a good practice to utilize the principle of least privilege, so it would still be a good idea to limit the ports that you’d like to allow, especially if you don’t trust everything that is on your network.
Regardless of what you decide to do with your firewall, accessing the router via our ZeroTier management IP proves that it works, and that concludes this article! Keep an eye out for more upcoming ZeroTier and MikroTik-related content!


