NEW! MikroTik Import Tools #
Updated on 04.23.2025
Use the import tool to add routers via configuration or by scanning a subnet with credentials.
Click the MikroTik Import button on the router listing page. #

Select the method to import routers. Adding via IP is only available for dedicated Admirals. #

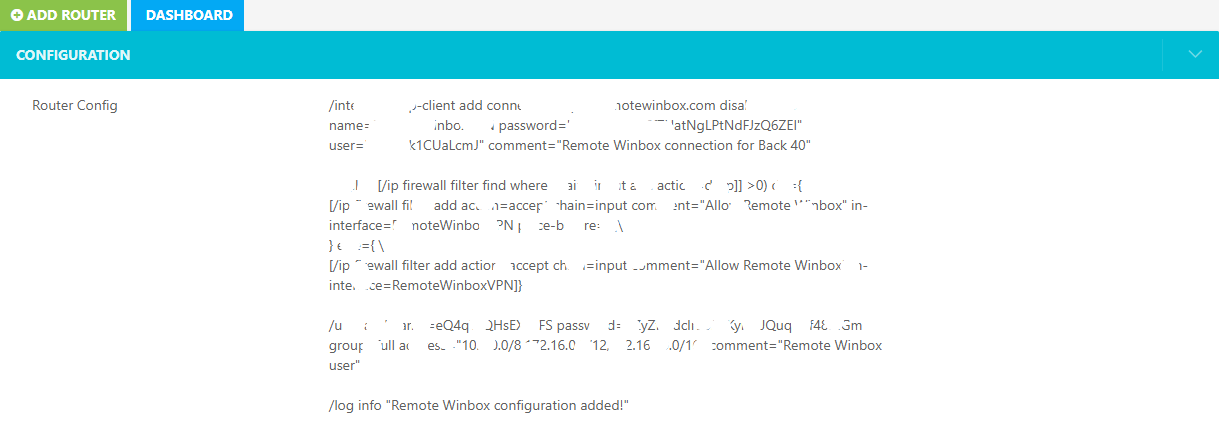
Options for Config Type: select EZ Config to apply a configuration boilerplate template to multiple routers. Selecting this button will display the configuration on the next screen. #

Choose Generated Config to create a specific configuration for an individual router using the name or CRM billing ID. Selecting Generate Config to display the configuration for that router on the next screen. #

Copy and Paste Config #
- Login to a local Mikrotik router via WinBox.
- From the Menu select New Terminal
- Copy the script from Admiral Dashboard
- Right Click and Paste into WinBox Terminal and press enter
Scan routers via IP(Dedicated instances only) #


The Import Diagnostic screen displays if access has been successful. #
Click the Edit button to customize router settings. #
Click the WiFi button to customize wireless settings. #
Click Finish to finalize import to the Dashboard #
Edit Router #

Nickname #
This is the plain text name you want to give the device. You’ll be able to search your dashboard using this field. You can not change the Nickname once it’s established.
Enable Additional Remote Access Port #
Using this feature will enable you to use API based softwares with Admiral service allowing for both remote access to Winbox and also remote access to custom software. This feature allows a second secure port to be assigned to this router for use with API based softwares, such as mikhmon and mtik-vg.
If you would like to change the default API port to a custom port, replace the value 8728 with your custom value. If you have not changed the API port on the MikroTik (under IP→ SERVICES), leave the default value alone.
Tags #
Click one or many tags associated with this router. Learn more about tags.
Email Notifications #
This turns on notifications for this router. Notification preferences also need to be set under user profile.
Location #
Enter an address or latitude and longitude to display router location on map.
Notes #
Additional information for this router can be stored in the notes section.
Select Tags #
Allows custom tags to be applied to router.
Email Notification #
Receive an email to your account when a router goes offline and comes back online.
Location Data #
Use these fields to show the latitude and longitude of the router on the map.
Connect Anywhere #
Now that your configuration is set, you can connect to that device from anywhere. Within a minute of the device being online, the Dashboard will be updated and show an online status for the device. You can now place the device wherever you like and ensure it has internet access.
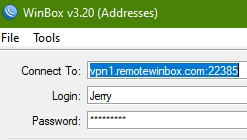
Use the IP and Port information at the bottom of the Config View page to add to the Connect To: field of WinBox. Then enter the Login: and Password: you created for that device.
In the off chance you’re not able to connect to the device, please go to the Advanced Settings in the Router Info View page


